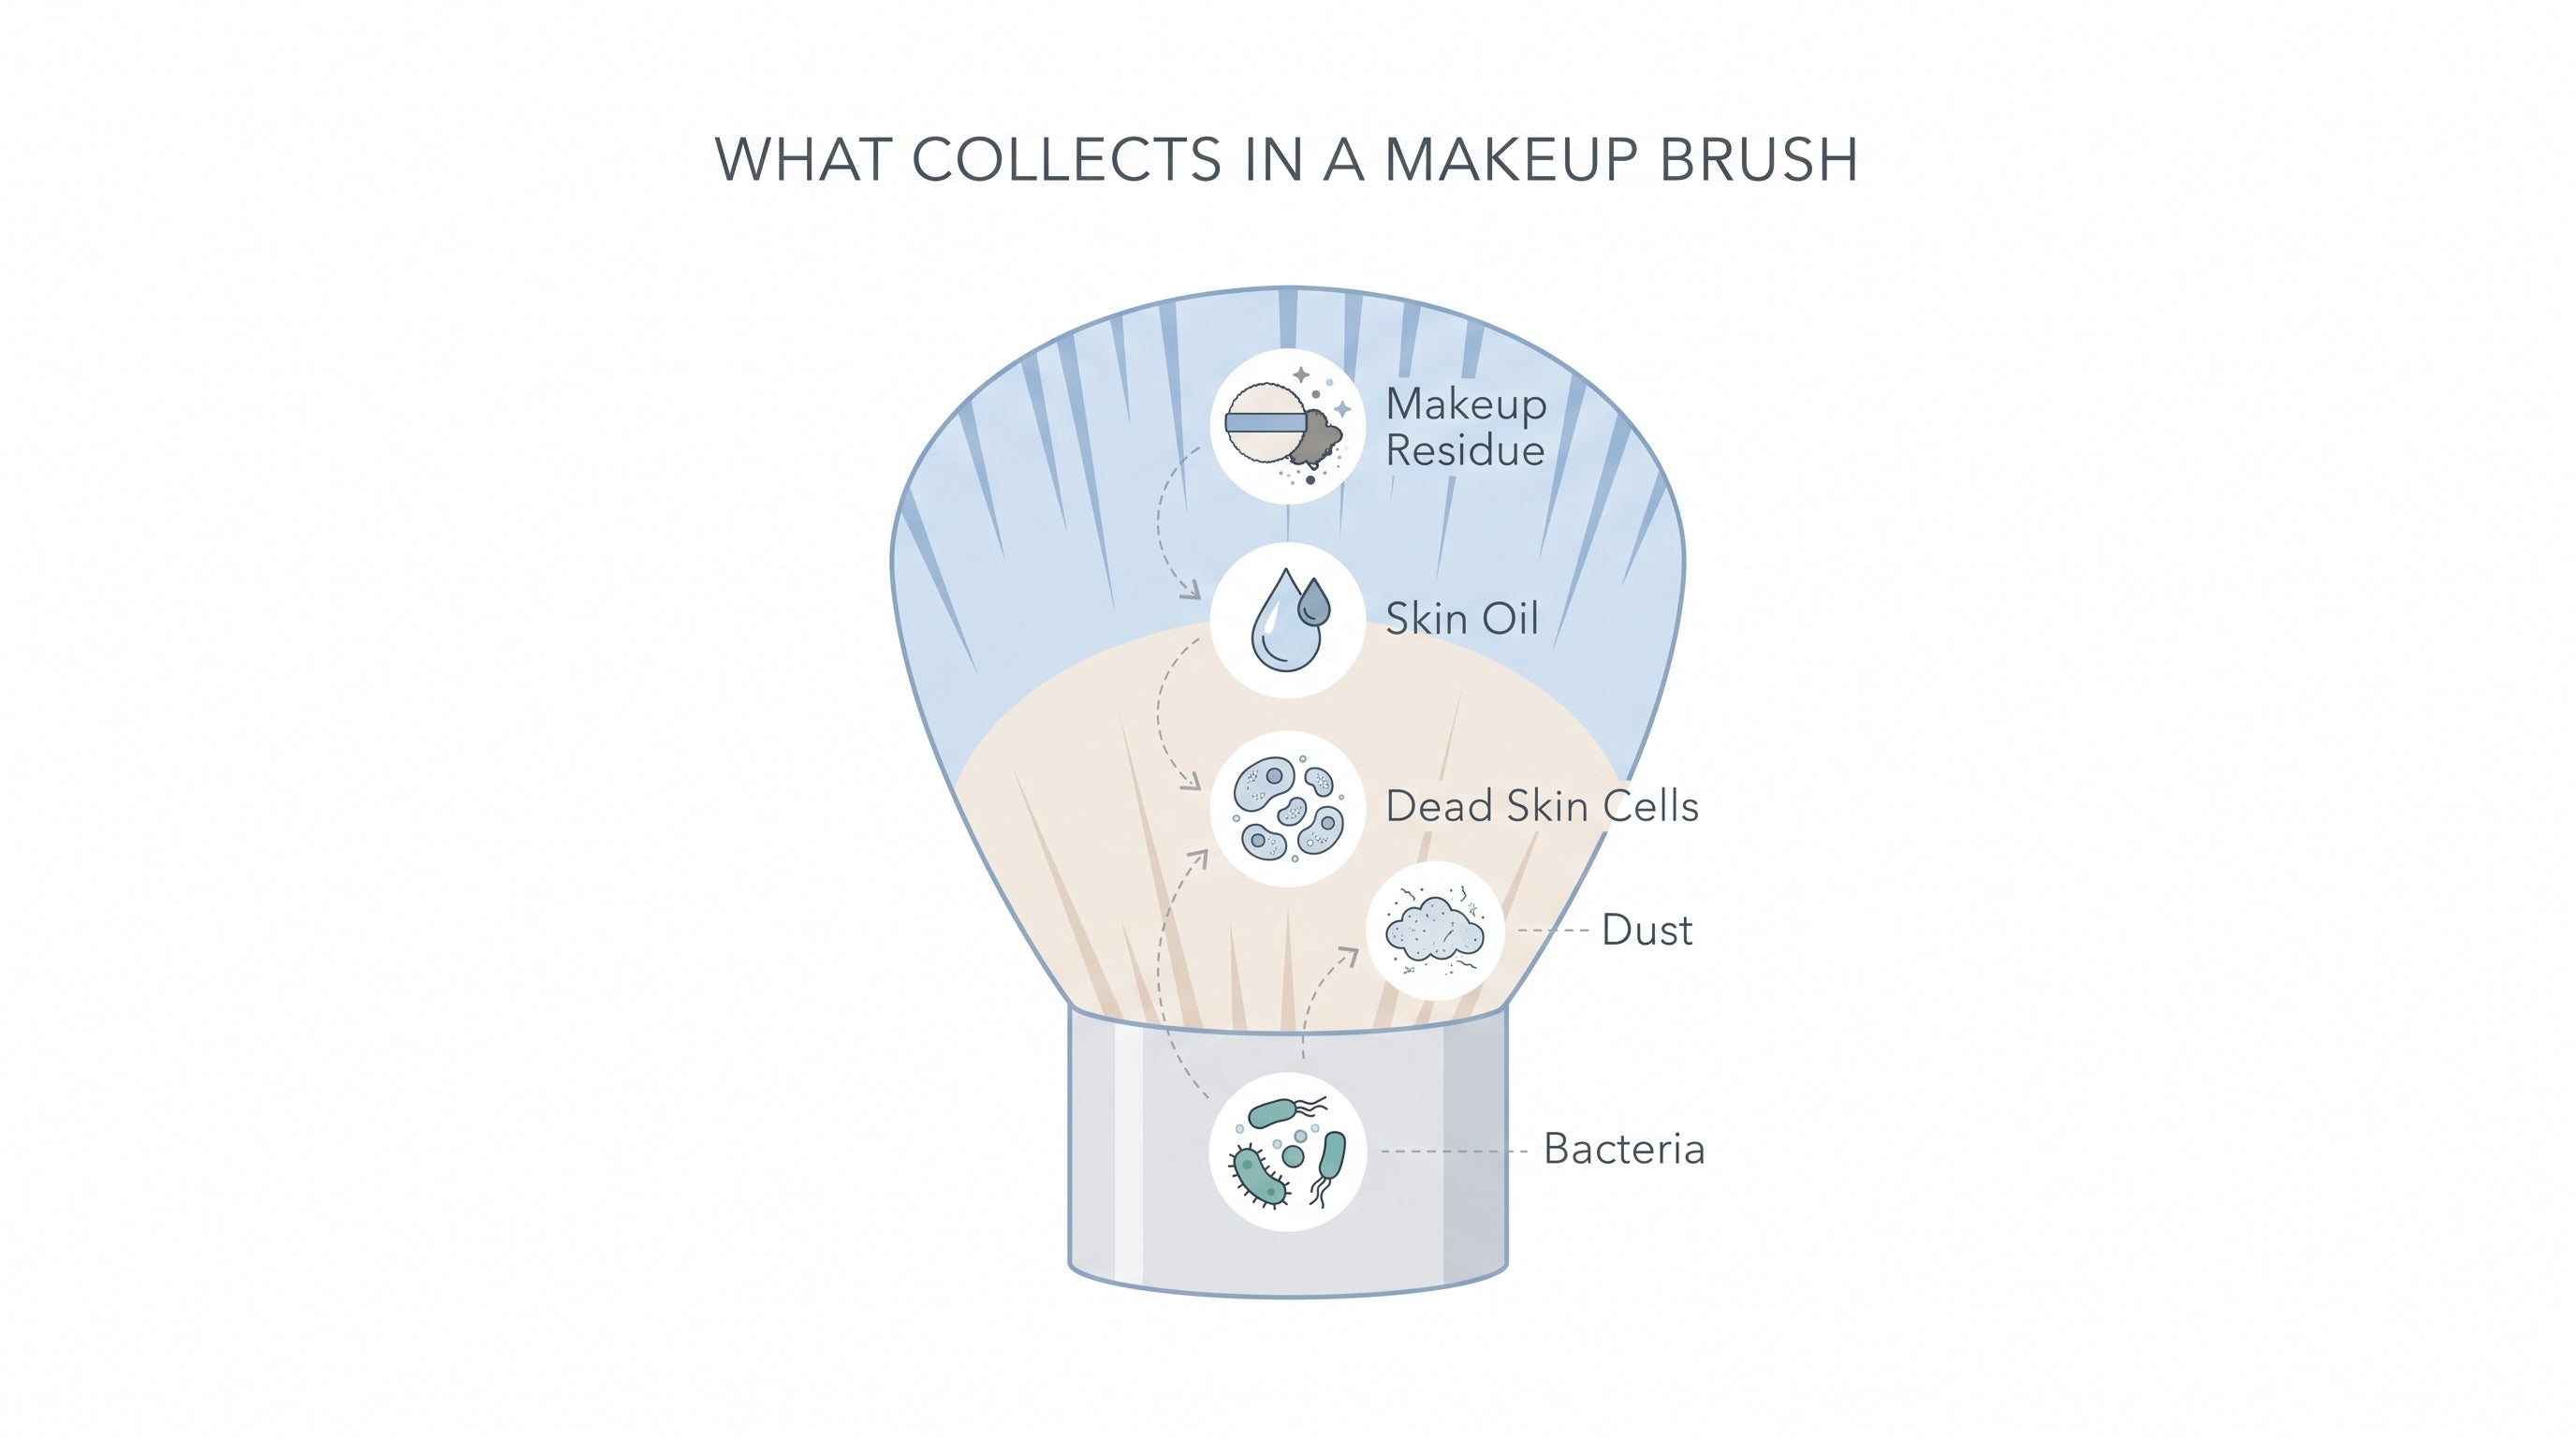
A makeup brush touches your face every morning, yet most of us wash the bathroom sink more often than we wash the tool that sits against our skin. Between uses, every brush collects the same few things: leftover product, oil from your face, dead skin cells, and whatever dust and bacteria drift through the air. The American Academy of Dermatology recommends washing brushes every 7 to 10 days to protect your skin and kill harmful bacteria, but the habit is easy to postpone because the buildup is invisible. The catch is that invisible buildup is exactly what causes the problems people blame on their products, from the breakout that shows up overnight to the irritation that will not settle. Cleaning a brush the right way is not complicated, and once you understand what is actually sitting in the bristles, the once-a-week habit stops feeling optional.
What actually collects in the bristles
A brush does not only hold pigment. Each stroke picks up oil and skin cells, and each dip into an open product jar adds a little more moisture and organic material. Dermatologist Melissa Piliang, MD, of Cleveland Clinic, describes what builds up on unwashed brushes: old makeup, dirt, and oil taken from the skin, plus dust and airborne bacteria from sneezes and droplets when brushes sit out on a counter or in a cup. Add a damp beauty sponge and the picture gets worse, because moisture is what turns a brush from slightly dirty into a place where bacteria and yeast can multiply.
The numbers put that in perspective. When the home retailer QS Supplies swabbed makeup brushes and compared them to bathroom surfaces, the brushes carried nearly 11 million colony-forming units of bacteria on average, about 20,000 times more than a public toilet seat, and 72 percent of what they found was Gram-positive rods. Beauty sponges, which hold moisture after every use, averaged 96,000 colony-forming units, all of them Gram-negative. A vanity surface in the same study held 35 times more bacteria than a bathroom doorknob. None of this means your brushes are dangerous in normal use, but it explains why unwashed tools keep moving bacteria back onto skin you are trying to keep clean.
That gap between what a rinse reaches and what it misses is where a targeted UV-C pass helps, which is why UVCeed was built to finish the job a wash starts. See how UVCeed works.
What dirty brushes can actually do to your skin
A dirty brush does not just deposit old makeup. The American Academy of Dermatology lists the real risks of letting buildup sit: acne breakouts and rashes, and in more serious cases a fungal infection, E. coli, or a staph infection. Cleveland Clinic adds eye infections such as pink eye to the list, and points out that the eyes are especially prone to infection because the skin there is thin and sensitive. Most makeup products contain preservatives that keep bacteria and yeast from growing inside the jar, but those preservatives do not protect a brush that sits for months with product caked into the base of the bristles. If you have a small cut or a freshly irritated patch, the bacteria on a brush has a direct path in.
Storage and sharing matter more than you think
Where a brush lives between uses decides how much it picks up. Cleveland Clinic notes that brushes stored open on a counter or standing in a cup collect dust and airborne bacteria from sneezes and droplets. A drawer or a covered holder keeps them cleaner between washes. Sharing brushes carries its own risk, which is why the American Academy of Dermatology says never to share them: the bacteria one person's skin tolerates can cause a real problem on someone else's. Store testers are the extreme version of the same idea, touched by dozens of hands in a single day. If you use a shared brush, even occasionally, treat it as a wet-product brush and wash it before it touches your face.
How often each brush really needs washing
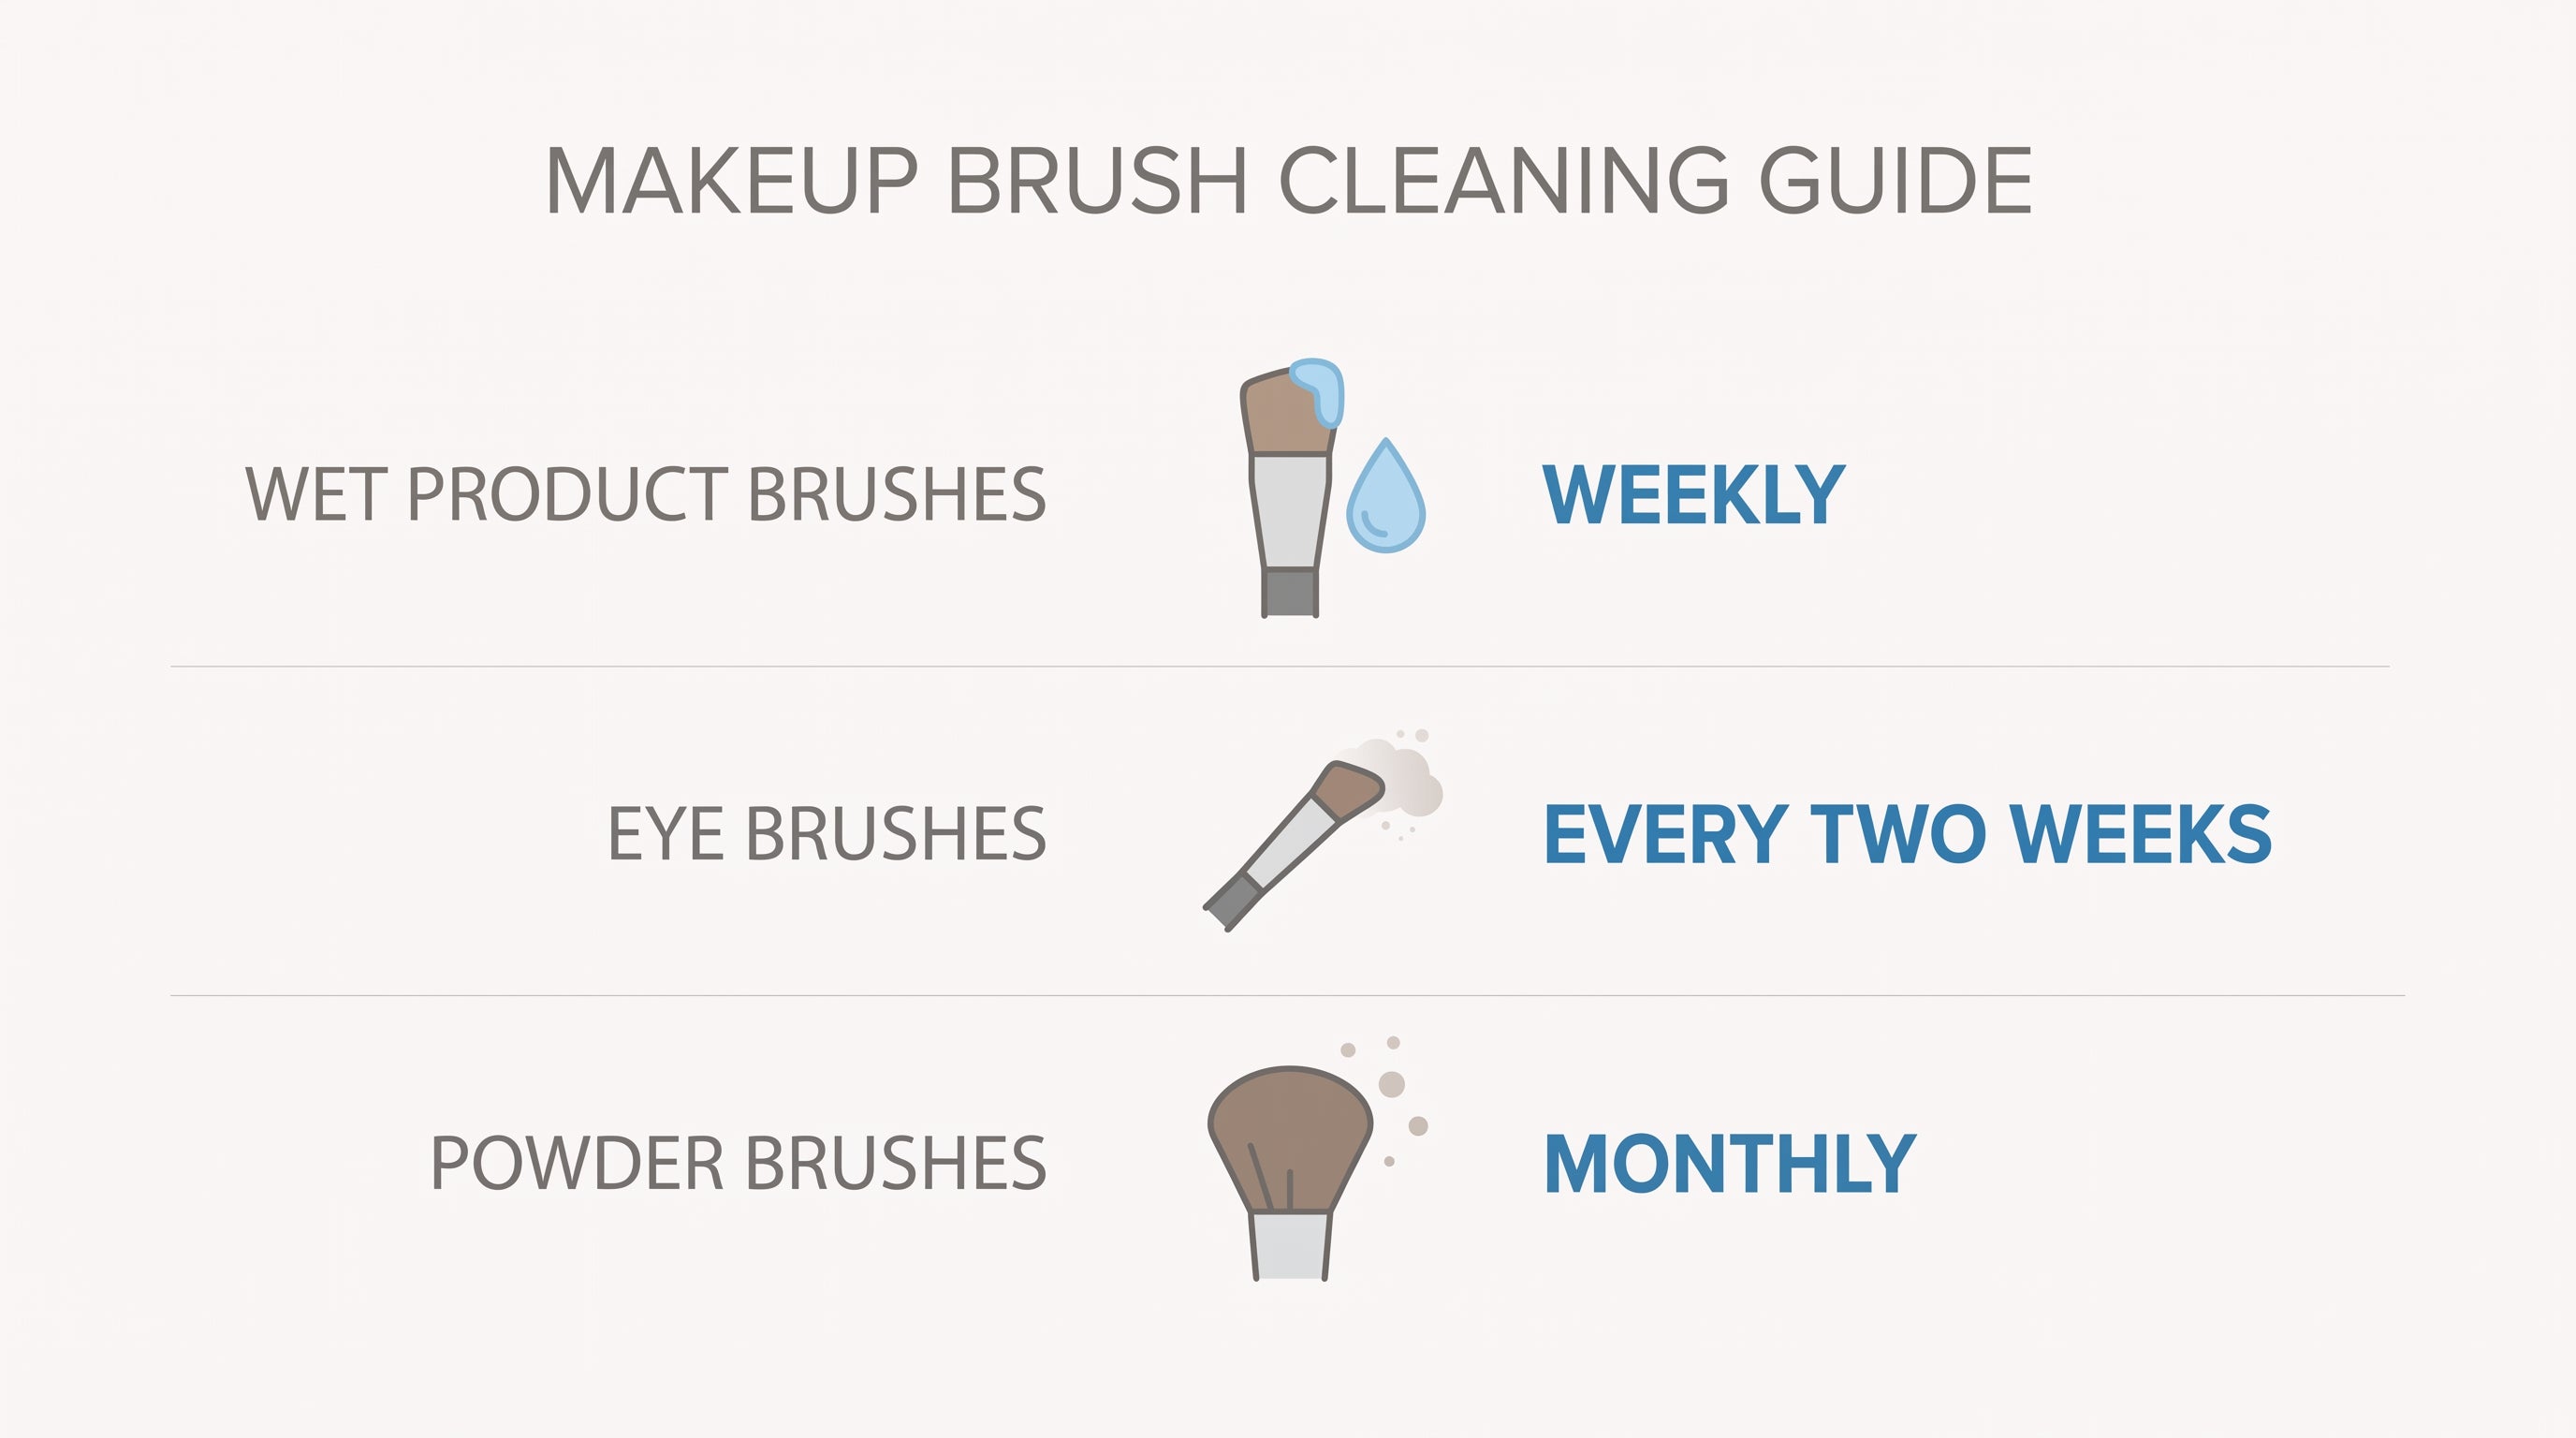
The right schedule depends on what the brush touches. For brushes used with wet products like foundation and concealer, Cleveland Clinic recommends washing once a week, because wet formulas carry the most moisture and organic material. Brushes used around the eyes should be washed every two weeks, and brushes used for dry powder products can go about a month between washes. Beauty sponges are the exception: because they stay damp after every use, they deserve a wash after each use whenever you can manage it. The American Academy of Dermatology's simplest rule of thumb is every 7 to 10 days for your brushes overall, and if your skin is prone to breakouts, leaning toward the more frequent end of that range is a small effort with a real payoff.
The right way to wash and dry a brush
The technique matters more than the product. Start by rinsing only the tips of the bristles under lukewarm running water to loosen the surface buildup. The American Academy of Dermatology warns that submerging the whole brush head will eventually dissolve the glue that holds the bristles to the handle. Then work a mild cleanser through the tips: a gentle or clarifying shampoo, baby shampoo, or a dedicated brush cleanser. Plain bar soap can dry out the bristles, and rich shampoos can leave a residue. Swirl the tips in your palm until they lather, rinse, and repeat until the water runs clear. That clear water is the signal the old product and oil are gone.
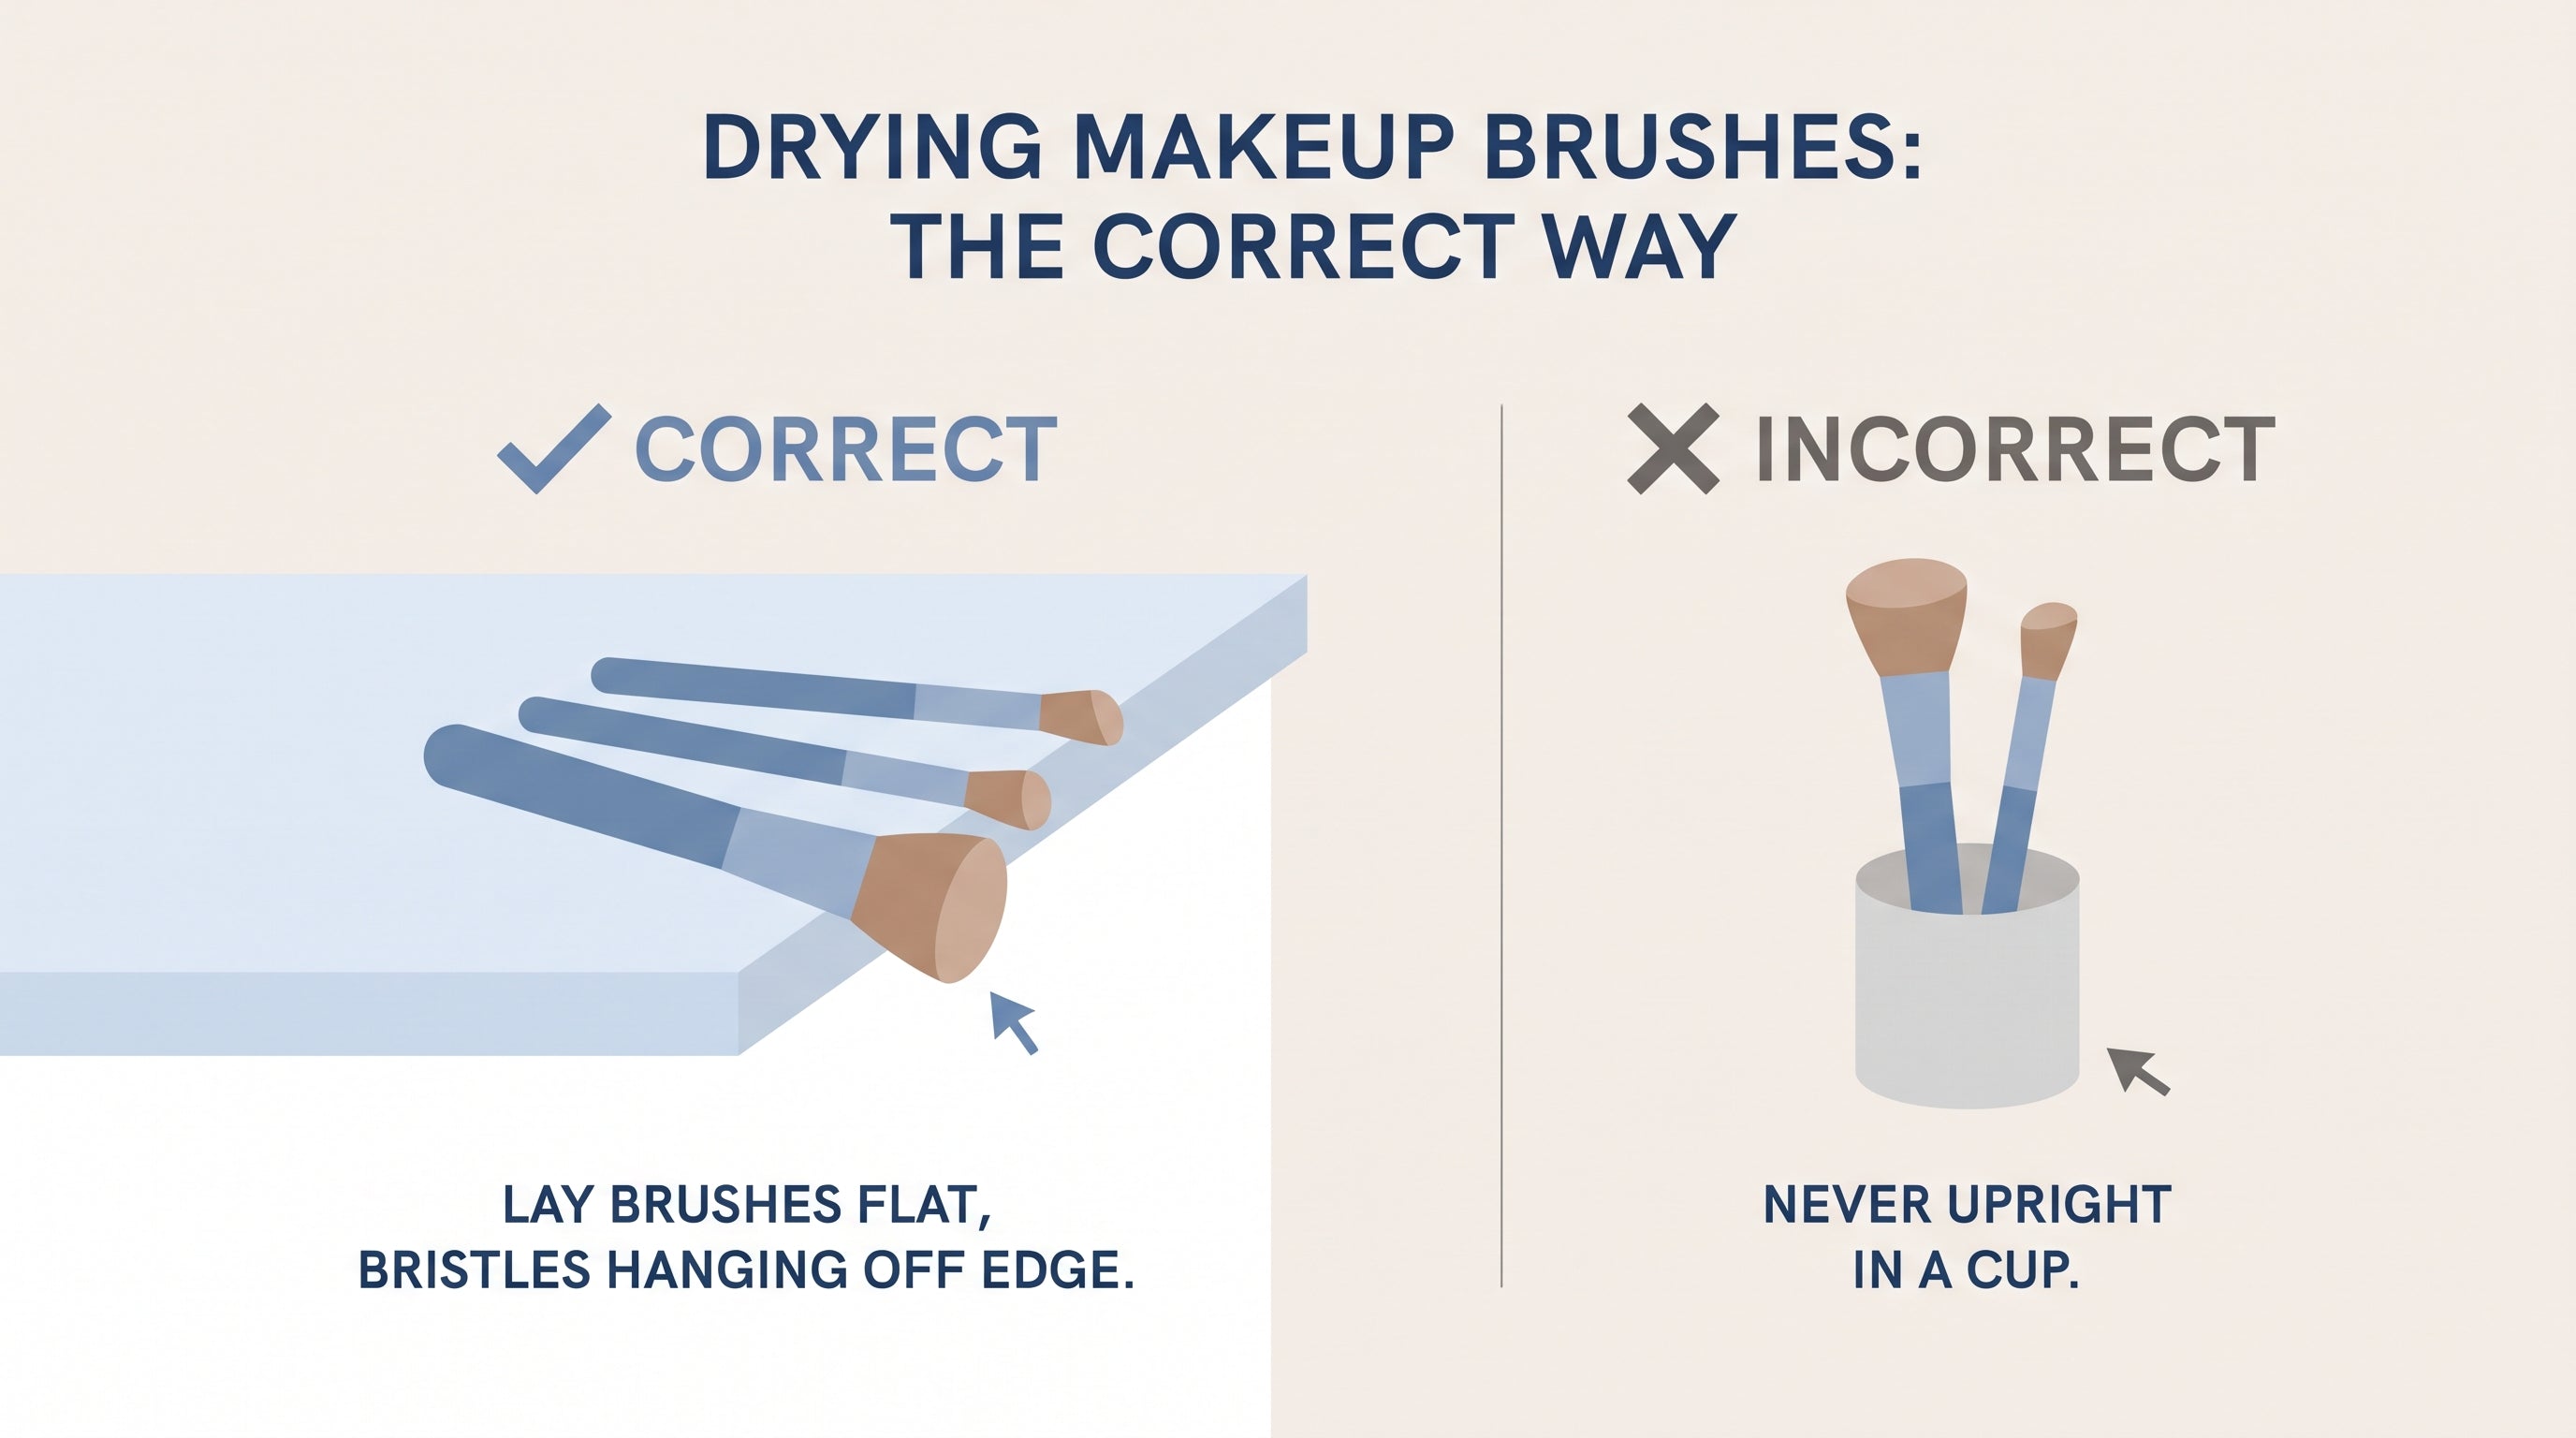
Drying is where most brushes get ruined. Lay each brush flat on a clean towel with the bristles hanging just off the edge of the counter. Never stand a brush upright in a cup to dry, because water running down into the ferrule loosens the glue over time and shortens the life of the brush. And never share brushes, because the bacteria one person's skin tolerates can cause a real problem on someone else's.
Once the brushes are clean, the last step is covering the seams and the dense bristle base that a rinse cannot reach. See how UVCeed covers the spots a wash misses.
The areas a wash cannot reach
Even a careful wash leaves two spots that soap and water handle poorly. The first is the ferrule, the metal band where the bristles meet the handle, where product and bacteria pack into a seam too tight for fingers or a towel to reach. The second is the dense base of the bristles, where water can sit and where a rinse rarely gets all the way down. This is where UV-C disinfection adds something washing cannot. UV-C light in the 200 to 280 nanometer range inactivates microbes by damaging their DNA, forming lesions and cross-links that stop the cell from replicating. But it only works where the light actually reaches, because anything in shadow is left untreated. That is why aiming matters, and why a UV-C light you can point into the seams and across the bristles covers the grooves a rinse leaves behind, with no water, no drying time, and no risk to the glue.
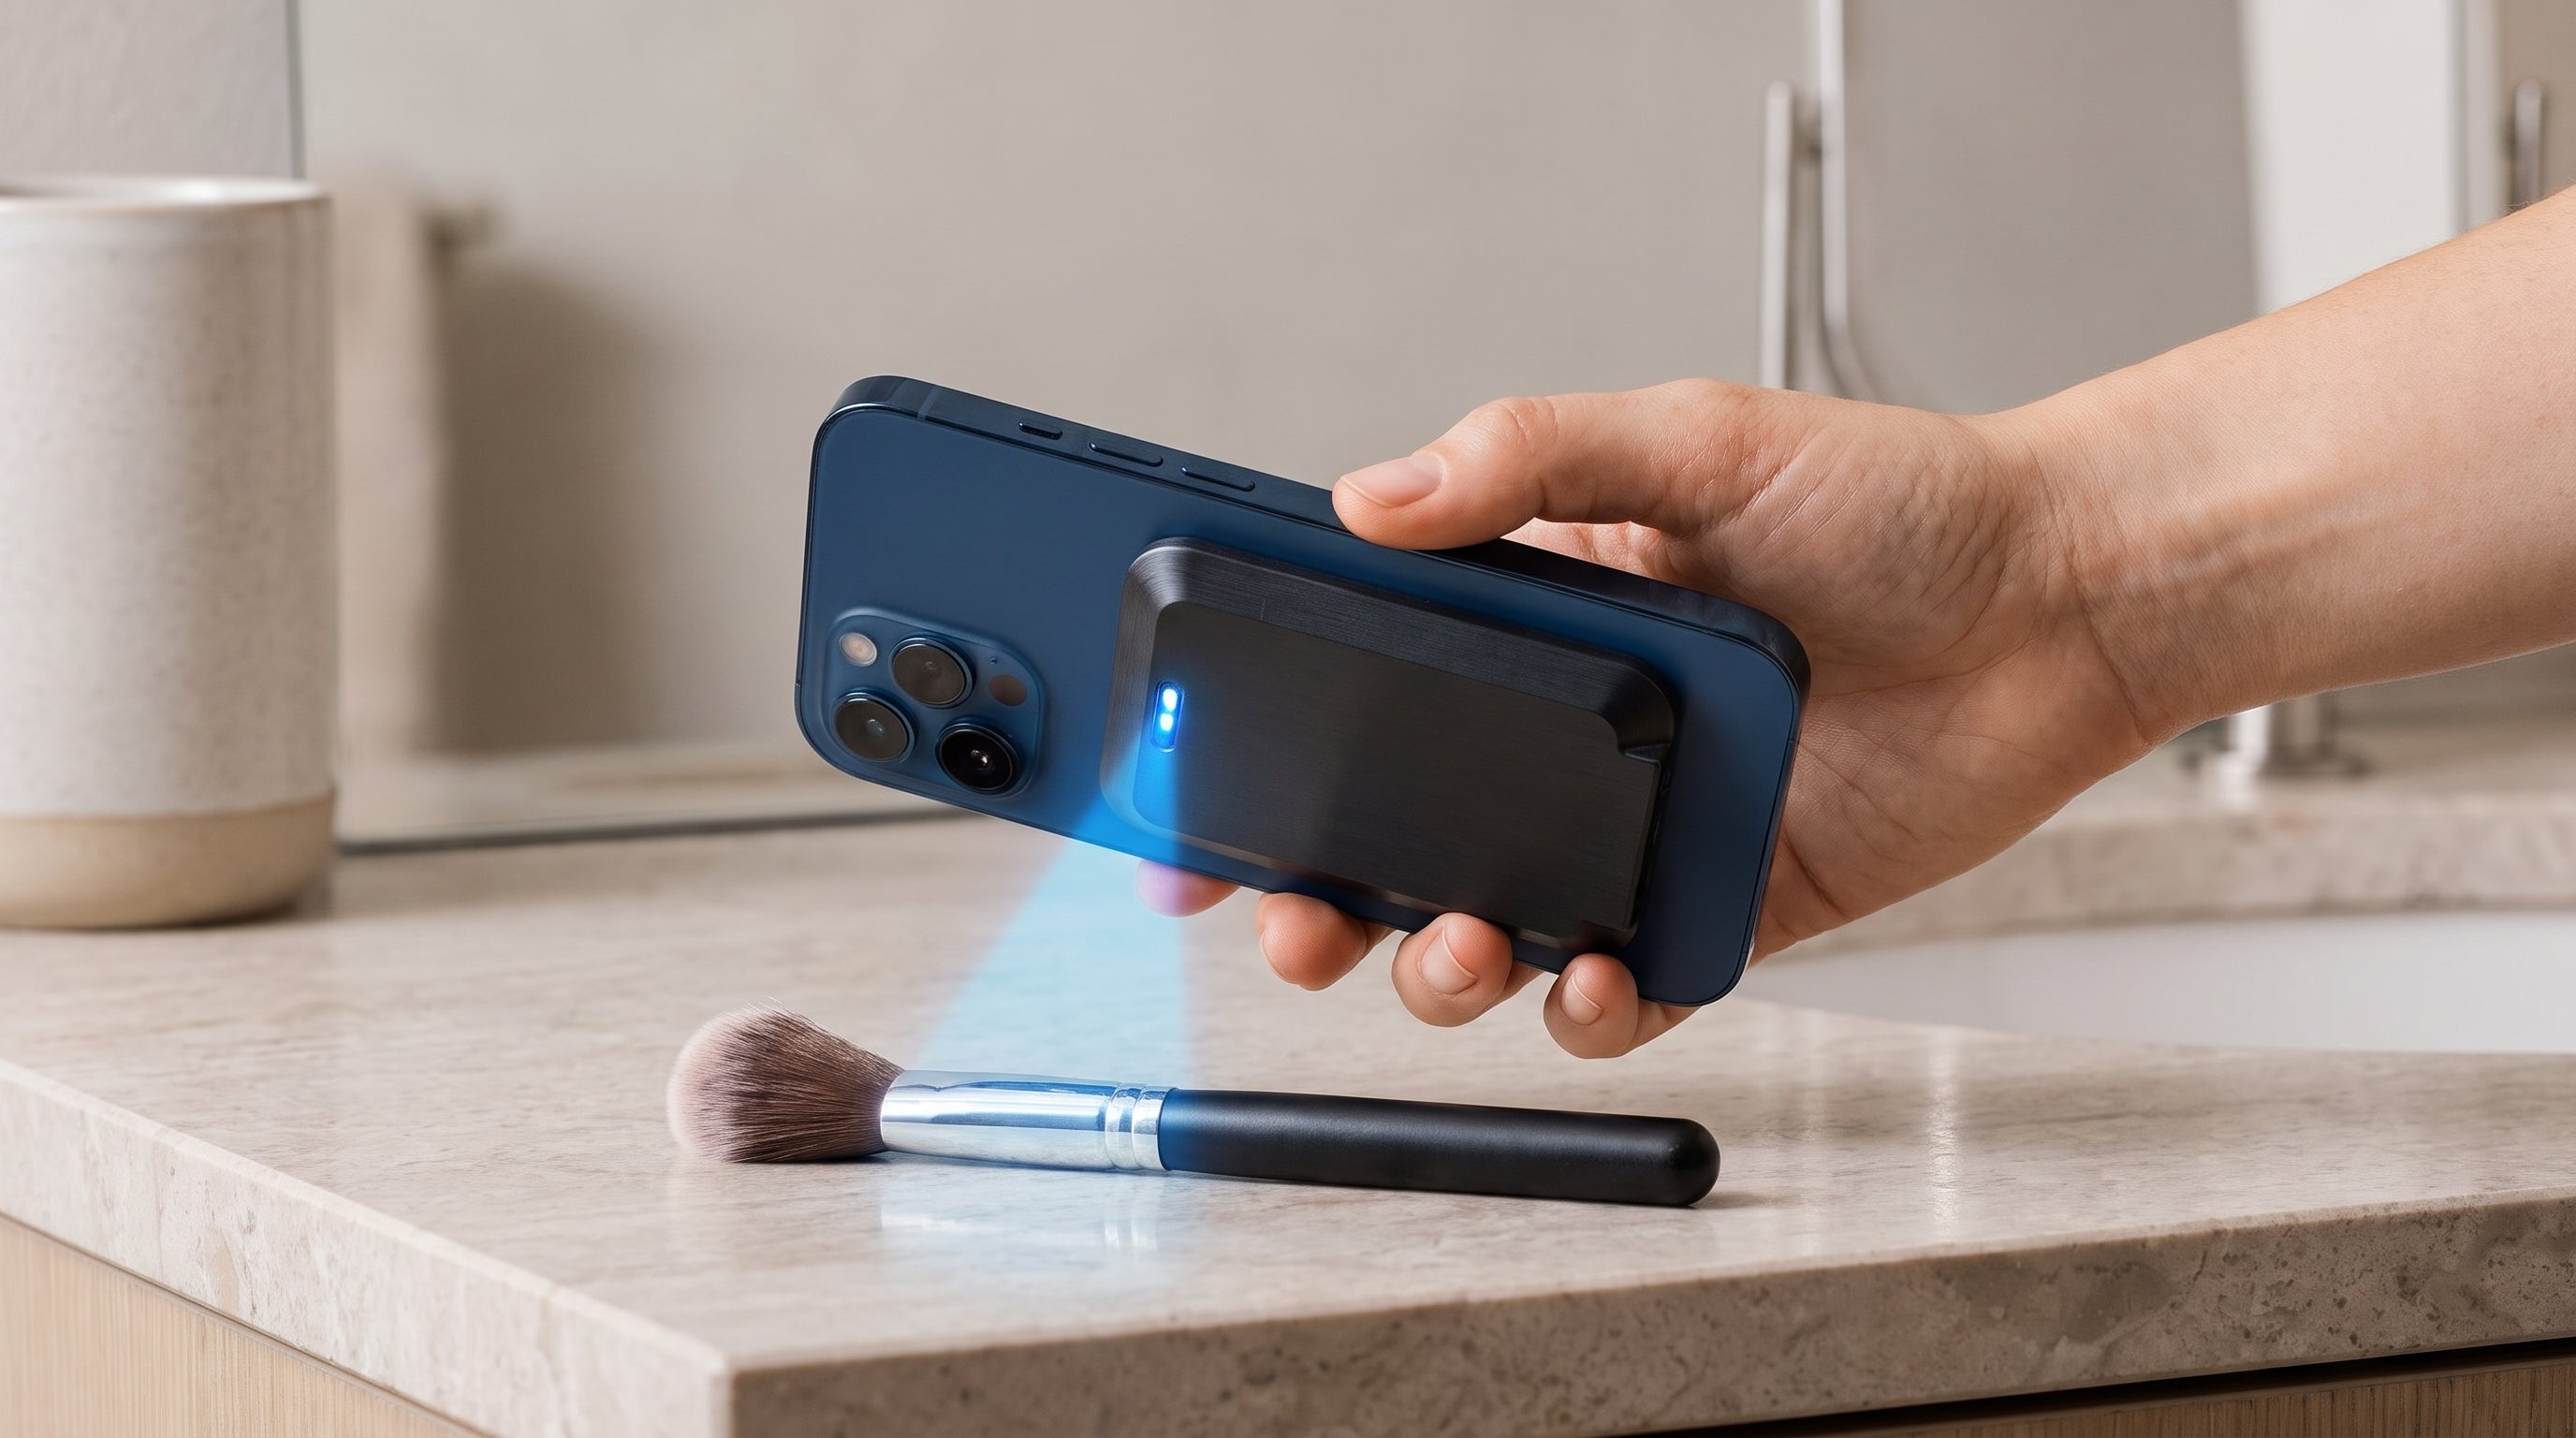
That no-liquid finish is the reason UVCeed fits so naturally into a brush routine: it covers the ferrule and the bristle base after a wash, with nothing left to dry. See how UVCeed finishes the job.
A weekly routine you can actually keep
The habit sticks when it is short. Wash your wet-product brushes on a set day once a week, give eye brushes a pass every other week, and let powder brushes ride on their monthly schedule. Dry everything flat overnight, and between washes use a quick no-liquid disinfection pass over the ferrule and the base of the bristles to cover the seams a rinse cannot reach. If a brush starts to fray, smell, or lose its shape, replace it, because no amount of washing brings a worn brush back. The point of the whole routine is not to turn your vanity into a lab. It is to stop putting yesterday's bacteria back on your face tomorrow morning.
Want More Articles Like This?
Get research on UV-C treatment and product updates delivered to your inbox.